Build a Book Search app using Vue.JS and Elasticsearch
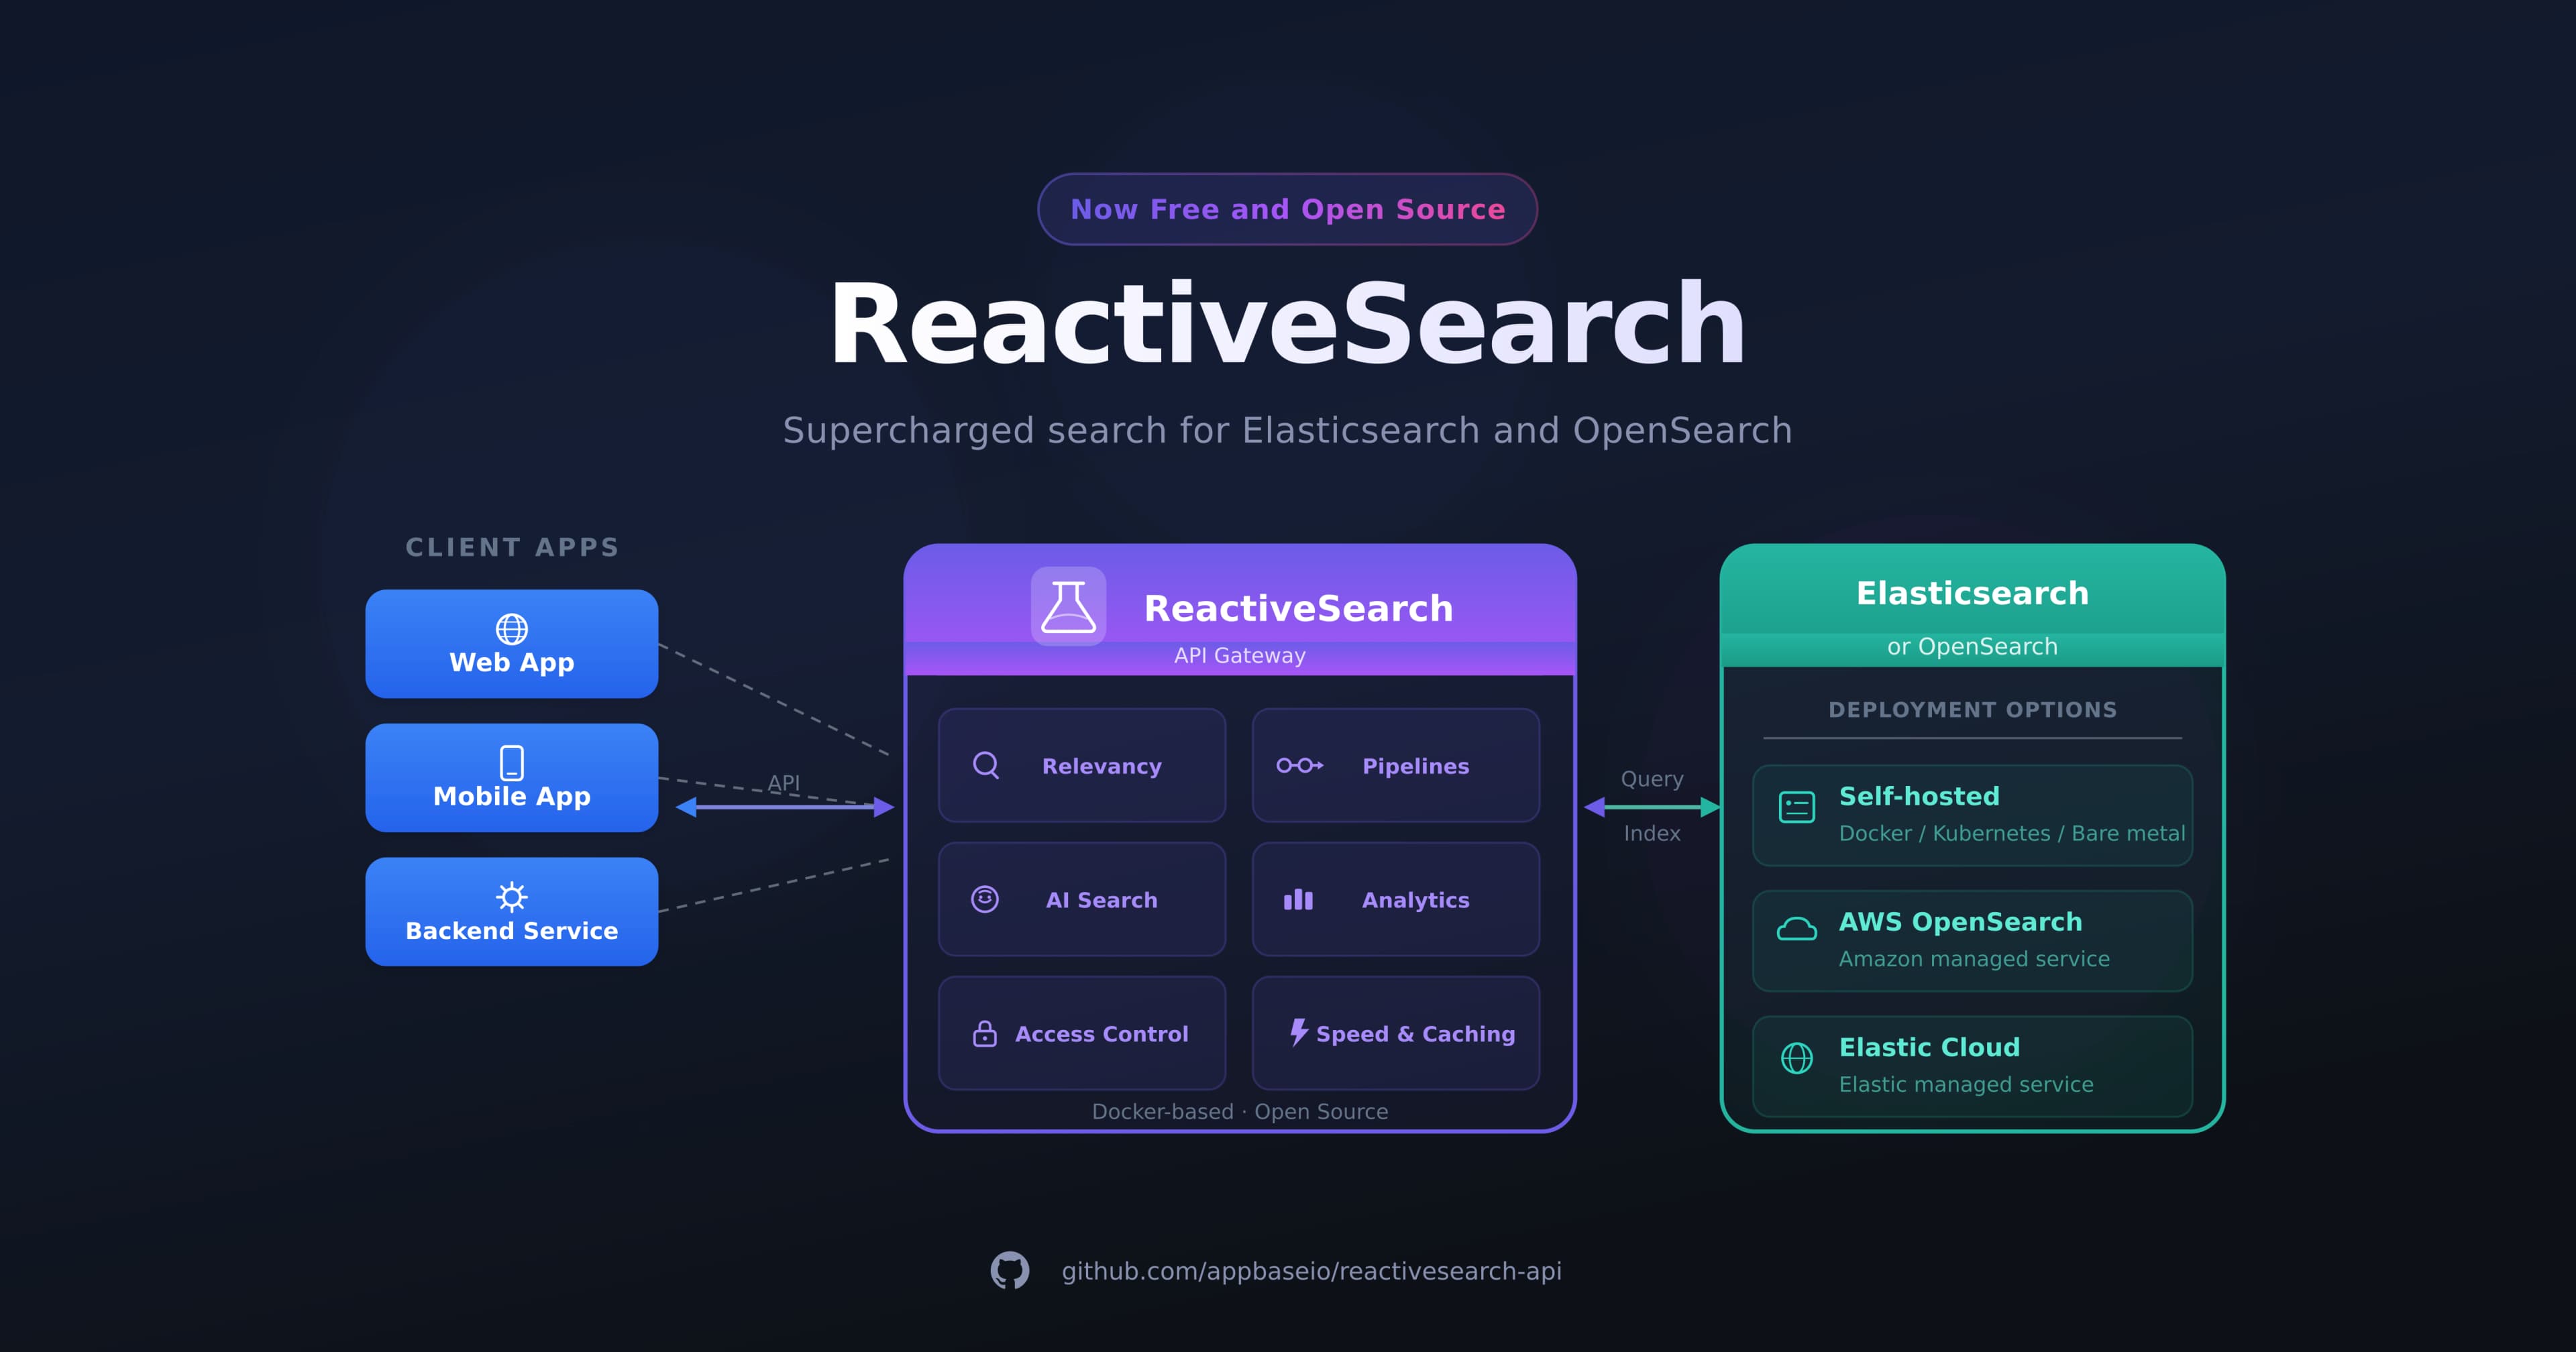
in under an hour using ReactiveSearch - an open-source UI components library for React and Vue

In this post, we are going to build a Booksearch app using Vue.js and Elasticsearch. You might have already heard of Vue.js, one of the fastest-growing JavaScript frameworks. You might also have heard about ElasticSearch — the most popular search engine out there. In any case, we will share a walkthrough explaining the basics of Search and build this app in a step-by-step manner.
We will be using ReactiveSearch for Vue, a search UI library with over 10+ UI components like SearchBox, MultiList, ReactiveList that work out of the box with Elasticsearch and MongoDB Atlas Search.
Before diving in, you can try out the Live demo of the final app that we will be building over here.
What is ElasticSearch
ElasticSearch is a blazing fast, open-source, full-text search engine. It allows you to store, search, and analyze both small and large volumes of data quickly (we are talking milliseconds here). It is generally used as the underlying engine/technology to power applications that have complex search features and requirements. You can read more about it here.
Why ElasticSearch
With ElasticSearch, you can build a fast search that utilizes its powerful Query DSL. However, setting up ElasticSearch correctly requires a lot of work. For instance, the mappings, analyzers, and tokenizers need to be set correctly or you may not receive accurate search results back. Besides, the more filters that get applied along with the search query, the more complex the resulting search query becomes.
Setting Up ElasticSearch
Building an app search experience like here requires more than a hosted Elasticsearch service. Appbase.io provides a no-code experience to importing data into your search index, configuring search relevance, as well as building consumer grade search UIs. An app built with appbase.io would then get search insights. It works with any hosted Elasticsearch provider or can come batteries included with Elasticsearch, the way we will use it here to get up and running quickly.
At appbase.io, we have also built some open-source tools to help you do all these things within a matter of clicks.
Tool to add data into ElasticSearch — Importer
Tool to view ElasticSearch data like an excel sheet — Data Browser
In this blog post, we will be using these tools to utilize the strength of ElasticSearch with Vue to build powerful apps.
Building our Search Engine
As mentioned above, we will be using appbase.io for our search backend.
This also means that we will save time from spinning up a separate server for setting up APIs and authorization. 💥
In order to make the Booksearch application, we will need a dataset of some really good books. I have already created an appbase.io app with the books dataset indexed over here. You can easily download this data and then import it to your own search index.
](https://cdn-images-1.medium.com/max/5760/1*OHJ1oyLeuV30NAahXFrFOw.png)
How to use ElasticSearch with Vue.JS?
We will be using the **reactiveSearch-vue** open-source UI library to build the appsearch experience. This library offers a range of highly customizable rich UI components that can connect with an ElasticSearch index hosted anywhere. It provides scaffolding to build search UIs similar to Airbnb's, Yelp's, authenticated search experiences, and more. We will show how simple it is to build one by creating our Booksearch app.
ReactiveSearch for Vue is a port of ReactiveSearch (written for React) that has been downloaded over 300,000 times in the past year and currently powering hundreds of production search UIs.
Setting Up Frontend
Step 1: Base setup of Vue.JS with ReactiveSearch
We will use Codesandbox.io to help us build our application in a step-by-step fashion. Open the above link and click on the Open Vue button.
If you instead want to develop this locally, you can also use vue-cli. You can read more about it here.
Install ReactiveSearch for Vue
Now we can add our dependency by clicking the Add Dependency button on CodeSandbox and searching for reactivesearch-vue, or if you are working locally you can install the package:
yarn add @appbaseio/reactivesearch-vue
Step 2: Adding components from the ReactiveSearch library
Now that we have the dataset to play around with and we are also done with our setup, it’s time for adding components to our app.
We need to first register the library so that we can use the components in the main.js. We can do this via the use method of Vue:
import ReactiveSearch from "@appbaseio/reactivesearch-vue";

Vue.use(ReactiveSearch);
Connecting our Search Backend via ReactiveBase Component
All the ReactiveSearch components are wrapped inside a container component — ReactiveBase which connects the components to an Elasticsearch index. We’ll apply this in the /src/App.vue file. You can read more about Reactivebase here.
Hello from ReactiveBase 👋
In case you are using your own app, you can swap the values in L2 and L3.
Using SearchBox Component for the main search
SearchBox creates a search box UI component that is connected to one or more database fields. A SearchBox queries the appbase.io backend with query type suggestion to render different kinds of suggestions.
 <SearchBox
    componentId="search-box"
    iconPosition="right"
    :dataField="[
        'original_title',
        'original_title.search',
        'authors.search',
        'authors.raw',
        'authors.autosuggest',
        'authors',
    ]"
    className="search-box"
    :showClear="true"
    placeholder="Search for books"
    :enableRecentSuggestions="true"
    :enablePopularSuggestions="true"
    :enablePredictiveSuggestions="true"
    :popularSuggestionsConfig="{
        size: 3,
        minHits: 2,
        minChars: 4,
    }"
    :recentSuggestionsConfig="{
        size: 3,
        minChars: 4,
    }"
    index="good-books-ds"
    :size="10"
/>
dataField prop values are the name of the field on which we want to apply our search.
iconPosition is used to align the search icon to the right or left.
You can learn more about these component props over here.
Use MultiList Component for Authors filter
We always want to read the book from our favorite authors so why not built an option to select our favorite authors and search through the list of authors.
<MultiList
  componentId="Authors"
  dataField="authors.keyword"
  class="filter"
  title="Select Authors"
  selectAllLabel="All Authors"
  :react="{ and: ['Ratings', 'search-box'] }"
/>
In this component, the dataField attribute defines the data field to be connected to the component’s UI view. The title attribute gives the heading to the component, while class is an attribute that is used to provide the CSS class name to the MultiList container. We can use the react prop to watch for changes in other components and render the current component reactively. For example, an Authors Filter component can update its data based on the selected fields in the Rating Filter component and DataSearch component.
You can learn more about the attributes of this component over here.
Use RatingsFilter Component for a Ratings UI widget
It would be useful to have an option to filter the best-rated books on our dataset.
SingleRange component displays a curated list of items where only one item can be selected at a time. Each item represents a range of values, specified in the data prop of the component.
<SingleRange
  componentId="Ratings"
  dataField="average_rating"
  :data="[
    { 'start': 0, 'end': 3, 'label': 'Rating < 3' },
    { 'start': 3, 'end': 4, 'label': 'Rating 3 to 4' },
    { 'start': 4, 'end': 5, 'label': 'Rating > 4' }
  ]"
  title="Book Ratings"
  class="filter"
/>
You can read more about the attributes of components here.
:data is the shorthand for v-bind:data which is used to pass data to the components.
Step 3: Use ReactiveList Component for displaying Book Results
ReactiveList creates a data-driven result list UI component. This list can reactively update itself based on changes in other components or changes in the database itself.
<ReactiveList
    componentId="SearchResult"
    data-field="original_title.raw"
    :pagination="true"
    :from="0"
    :size="8"
    :showResultStats="false"
    class="result-list-container"
    :react="{ and: ['Ratings', 'Authors', 'search-box'] }"
    :innerClass="{ list: 'books-container', poweredBy: 'appbase' }"
>
    <div slot="renderItem" class="book-content" slot-scope="{ item }">
        <a
        key="item._id"
        target="_blank"
        :href="
            'https://www.google.com/search?q=' +
            item.original_title.replace(' ', '+')
        "
        >
            <div class="image">
                <img :src="item.image" alt="Book Cover" class="book-image" />
                <div class="rating">{{ item.average_rating_rounded }} ⭐️</div>
                <div class="details">
                <h4 class="book-header">{{ item.original_title }}</h4>
                <p>By {{ item.authors }}</p>
                </div>
            </div>
        </a>
    </div>
</ReactiveList>
In this component, pagination is used to show the pagination at the bottom of the list. react is used to watch changes through different components like SingleRange and MultiList in our case. You can read more about these component properties here.
Notice slot and slot-scope it is used to get data from the child component to the parent component. If you have used React it is like a render-prop . You can read more about it here.
Step 4: Styling the Application
We will now make use of some styles to make the application look elegant and professional. We can add styles to an element using class and adding their respective CSS in styles.css.
You can get all the styles here & add them to App.vue.
Next, we will also make this app mobile responsive. To do this, we will use a variable to hide/show filters using a button when we are on a mobile viewport.
<script>
import "./styles.css";
export default {
  name: "app",
  data: function() {
    return {
      showBooks: window.innerWidth <= 768 ? true : false
    };
  },
  methods: {
    switchContainer: function() {
      return (this.showBooks = !this.showBooks);
    }
  }
};
</script>
Image: Adding styles and Methods & structuring to handle small screen 📱
<button class="toggle" @click="switchContainer">
  {{ showBooks ? 'Show Filter 💣' : 'Show Books 📚' }}
</button>
Image: The button to switch views
@click is shorthand for v-on:click. It is used to track whenever a click event is fired on the button.
<iframe src="https://codesandbox.io/embed/booksearch-app-final-styling-o4yy06?fontsize=14&hidenavigation=1&theme=dark" style="width:100%; height:500px; border:0; border-radius: 4px; overflow:hidden;" title="Booksearch App: Final styling" allow="accelerometer; ambient-light-sensor; camera; encrypted-media; geolocation; gyroscope; hid; microphone; midi; payment; usb; vr; xr-spatial-tracking" sandbox="allow-forms allow-modals allow-popups allow-presentation allow-same-origin allow-scripts"
Image: Final application
Summary
Here comes the end of our journey, and we have got our awesome Booksearch app built with ReactiveSearch-Vue. To summarize everything so far:
This post introduces ReactiveSearch-Vue — A Vue.js UI components library for ElasticSearch that provides scaffolding for building great search experiences. Next, we went step-by-step to add different UI components and style our app.
Step 1: Base setup for Vue with ReactiveSearch — CodeSandbox here.
Step 2: Adding components from ReactiveSearch library — CodeSandbox here.
Step 3: **Displaying data using ReactiveList — CodeSandbox here.
Step 4: Adding styles to make responsive and professional — CodeSandbox.
Check out the live demo over here.
Alternatively, if you want to build this app locally using Vue-CLI, you can check out the Github repo here.
Useful References
All ReactiveSearch components can be interactively tried using the playground at https://reactivesearch-vue-playground.netlify.com/.
The documentation for all the components is available at https://docs.appbase.io/docs/reactivesearch/vue/overview/QuickStart/.
Finally, go ★ ReactiveSearch on Github so you can find it when you need to build that awesome search!