Securing Search UI with authentication and authorization
In this tutorial, you will see how to set authentication and authorization for a React search UI. The same principles apply for any SPA app
Authentication and Authorization rules are THE MOST IMPORTANT security considerations when building a production grade app, yet they are often left out as a second thought. In this post, we will be building authentication (Who are you?) and authorization (Are you allowed to see this?) flows to a Airbnb search UI. It shows listings of available stays where users can search and filter according to price, no. of guests, and date ranges. We are going to extend it, to include authentication and authorization.
Our extended app would have a login mechanism that would allow users to sign up/sign in. Each user would have a role assigned to them, either guest or host. As a host they would be able to create a listing but not as a guest. They would also be able to switch roles to test both types.
The key components that we will be using here are:
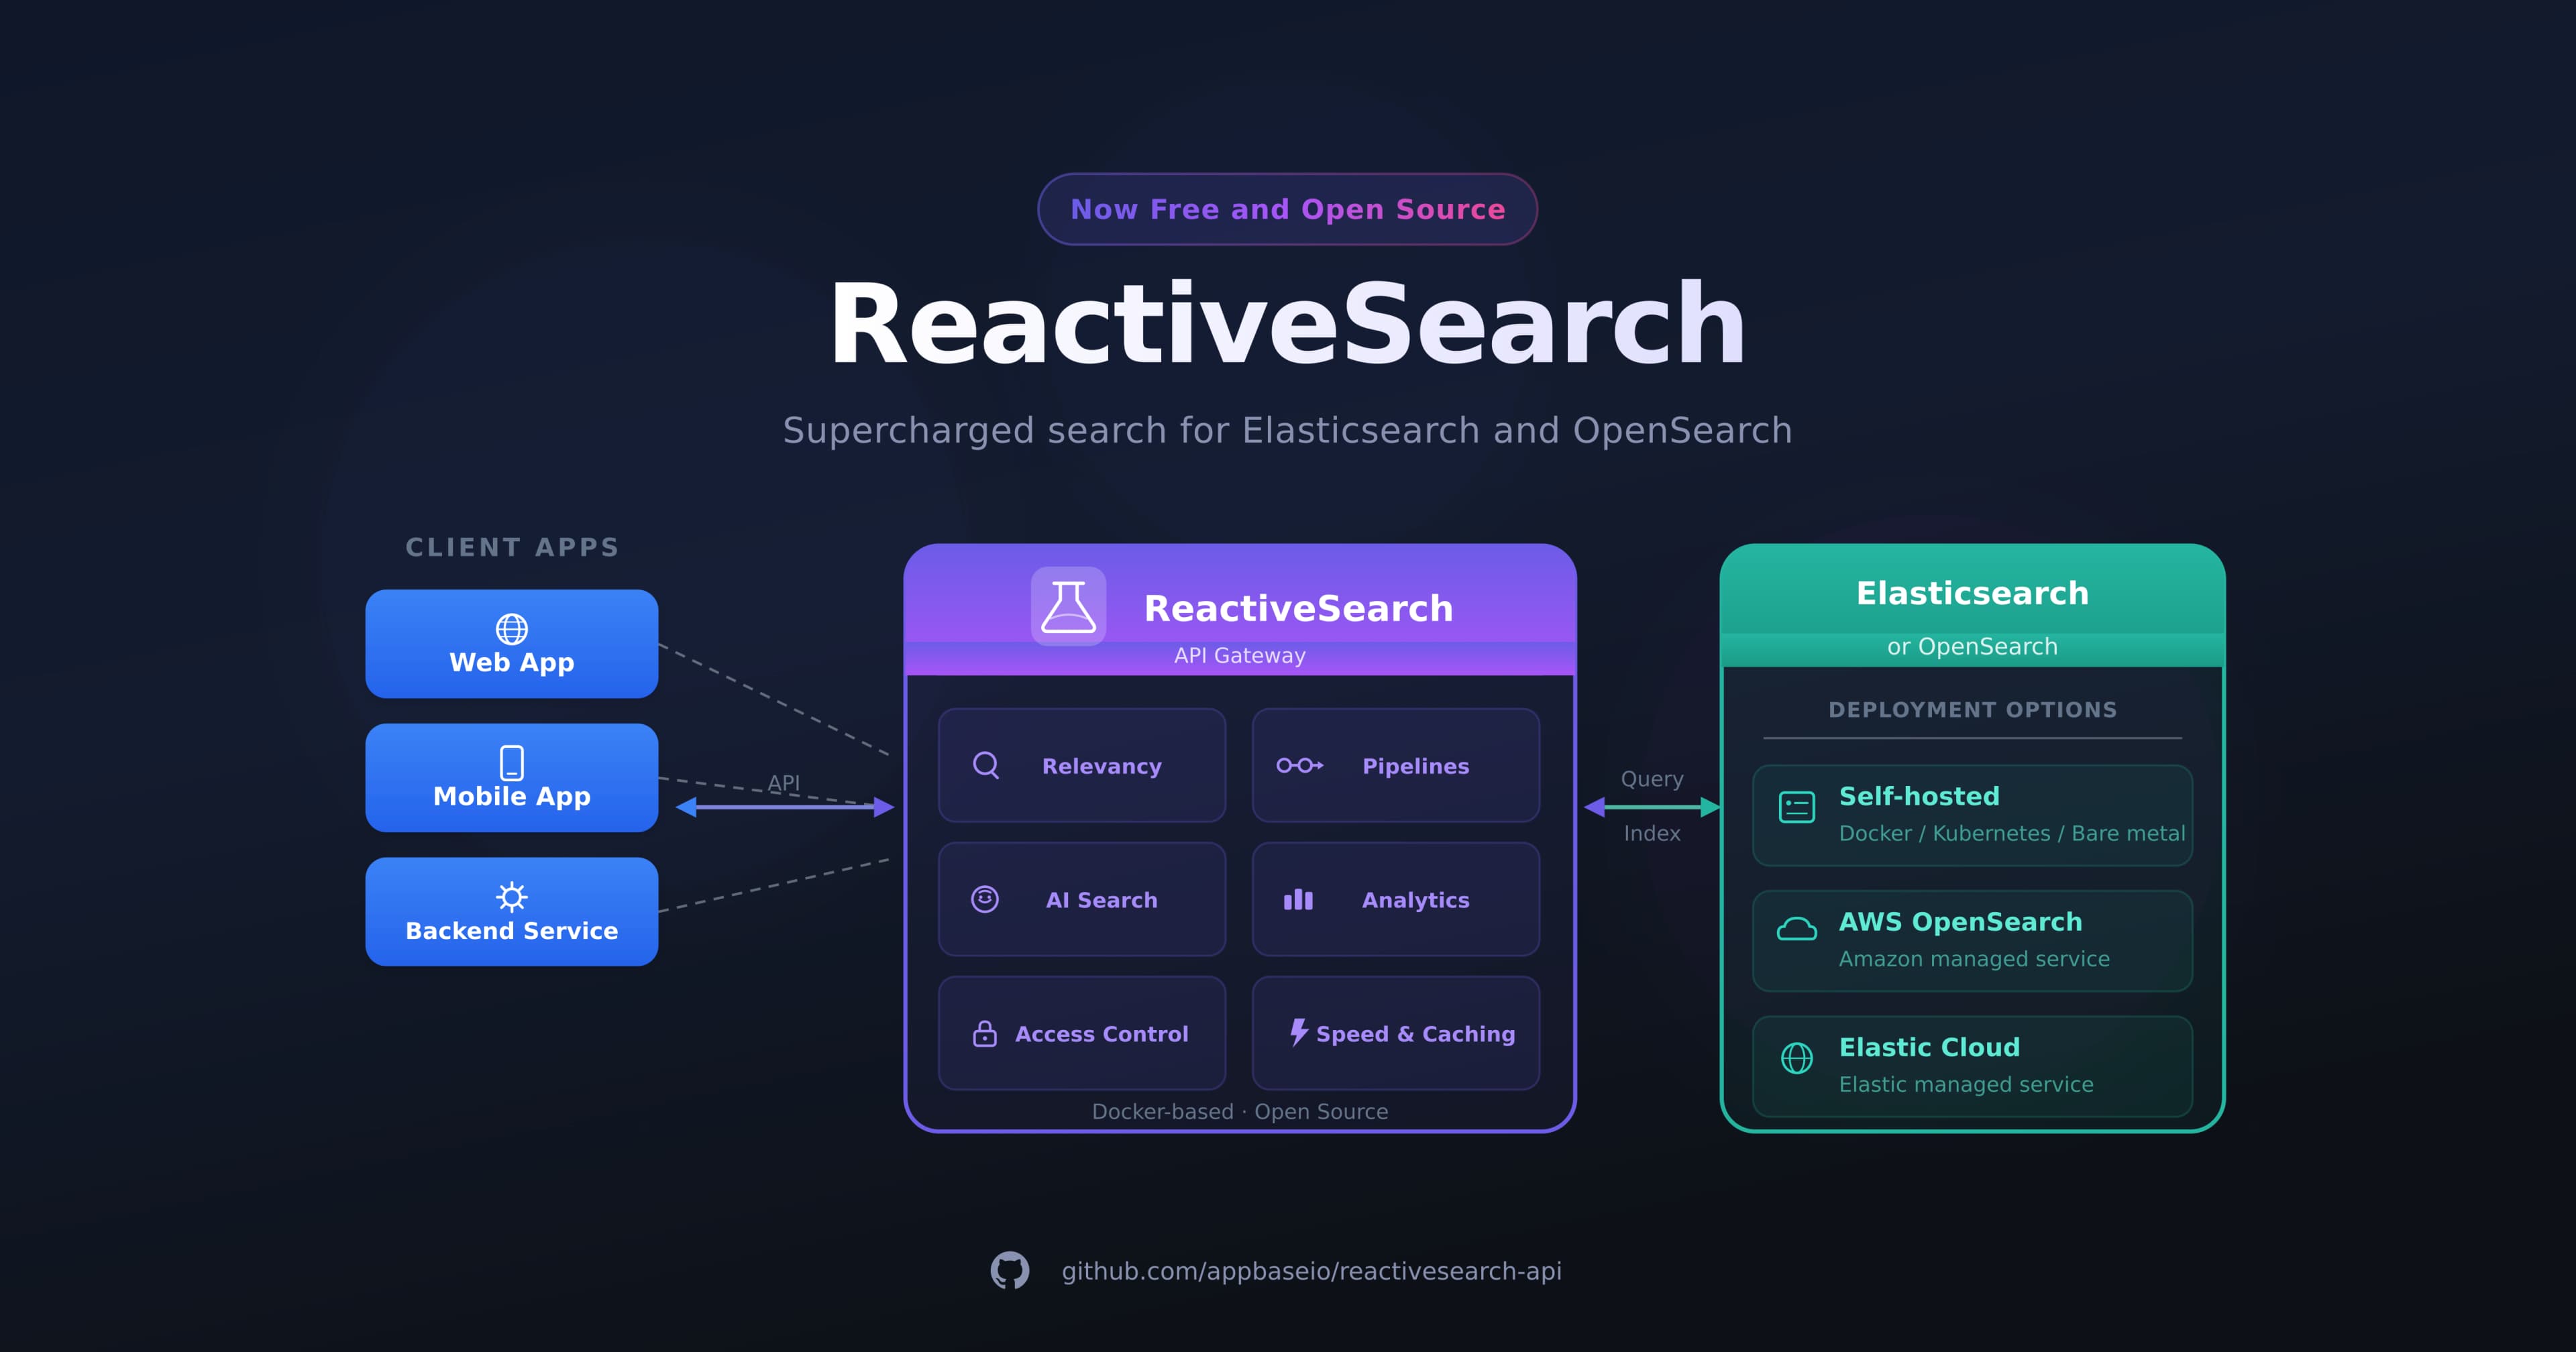
- ReactiveSearch, a data-driven UI components library for React for building the UI views
- Netlify functions, server-side functions that act as API endpoints
- Auth0, as a hosted authentication service
- ReactiveSearch.io as a hosted search service
You can play with the final search UI over here.
Definitions
Authentication v/s Authorization
Authentication and authorization are complementary to each other and they solve two different problems:
Is the user who they claim they are? — Authentication
Is this user allowed to perform this action? — Authorization
RBAC
After the authentication happens, we now want to give permissions to the users to access certain parts of the app and do certain things. We use Auth0 which implements authorization using RBAC.
Role-based access control (RBAC) restricts activities a certain user can perform. Traditionally, we used to assign permissions directly to users. In RBAC, we assign permissions to roles and then roles to users. It offers a simple and manageable approach to access management that is less prone to error than assigning permissions to users individually.
Before we begin
Setting Auth0
To set up Auth0 we would need to perform the below steps. You can use the Auth0 guide for reference.
Sign up/Sign in to Auth0 dashboard.
Under the Applications tab, click on create application and choose a single page application(SPA).. This would be used by our frontend inside the
Auth0Providercomponent of@auth0/auth0-react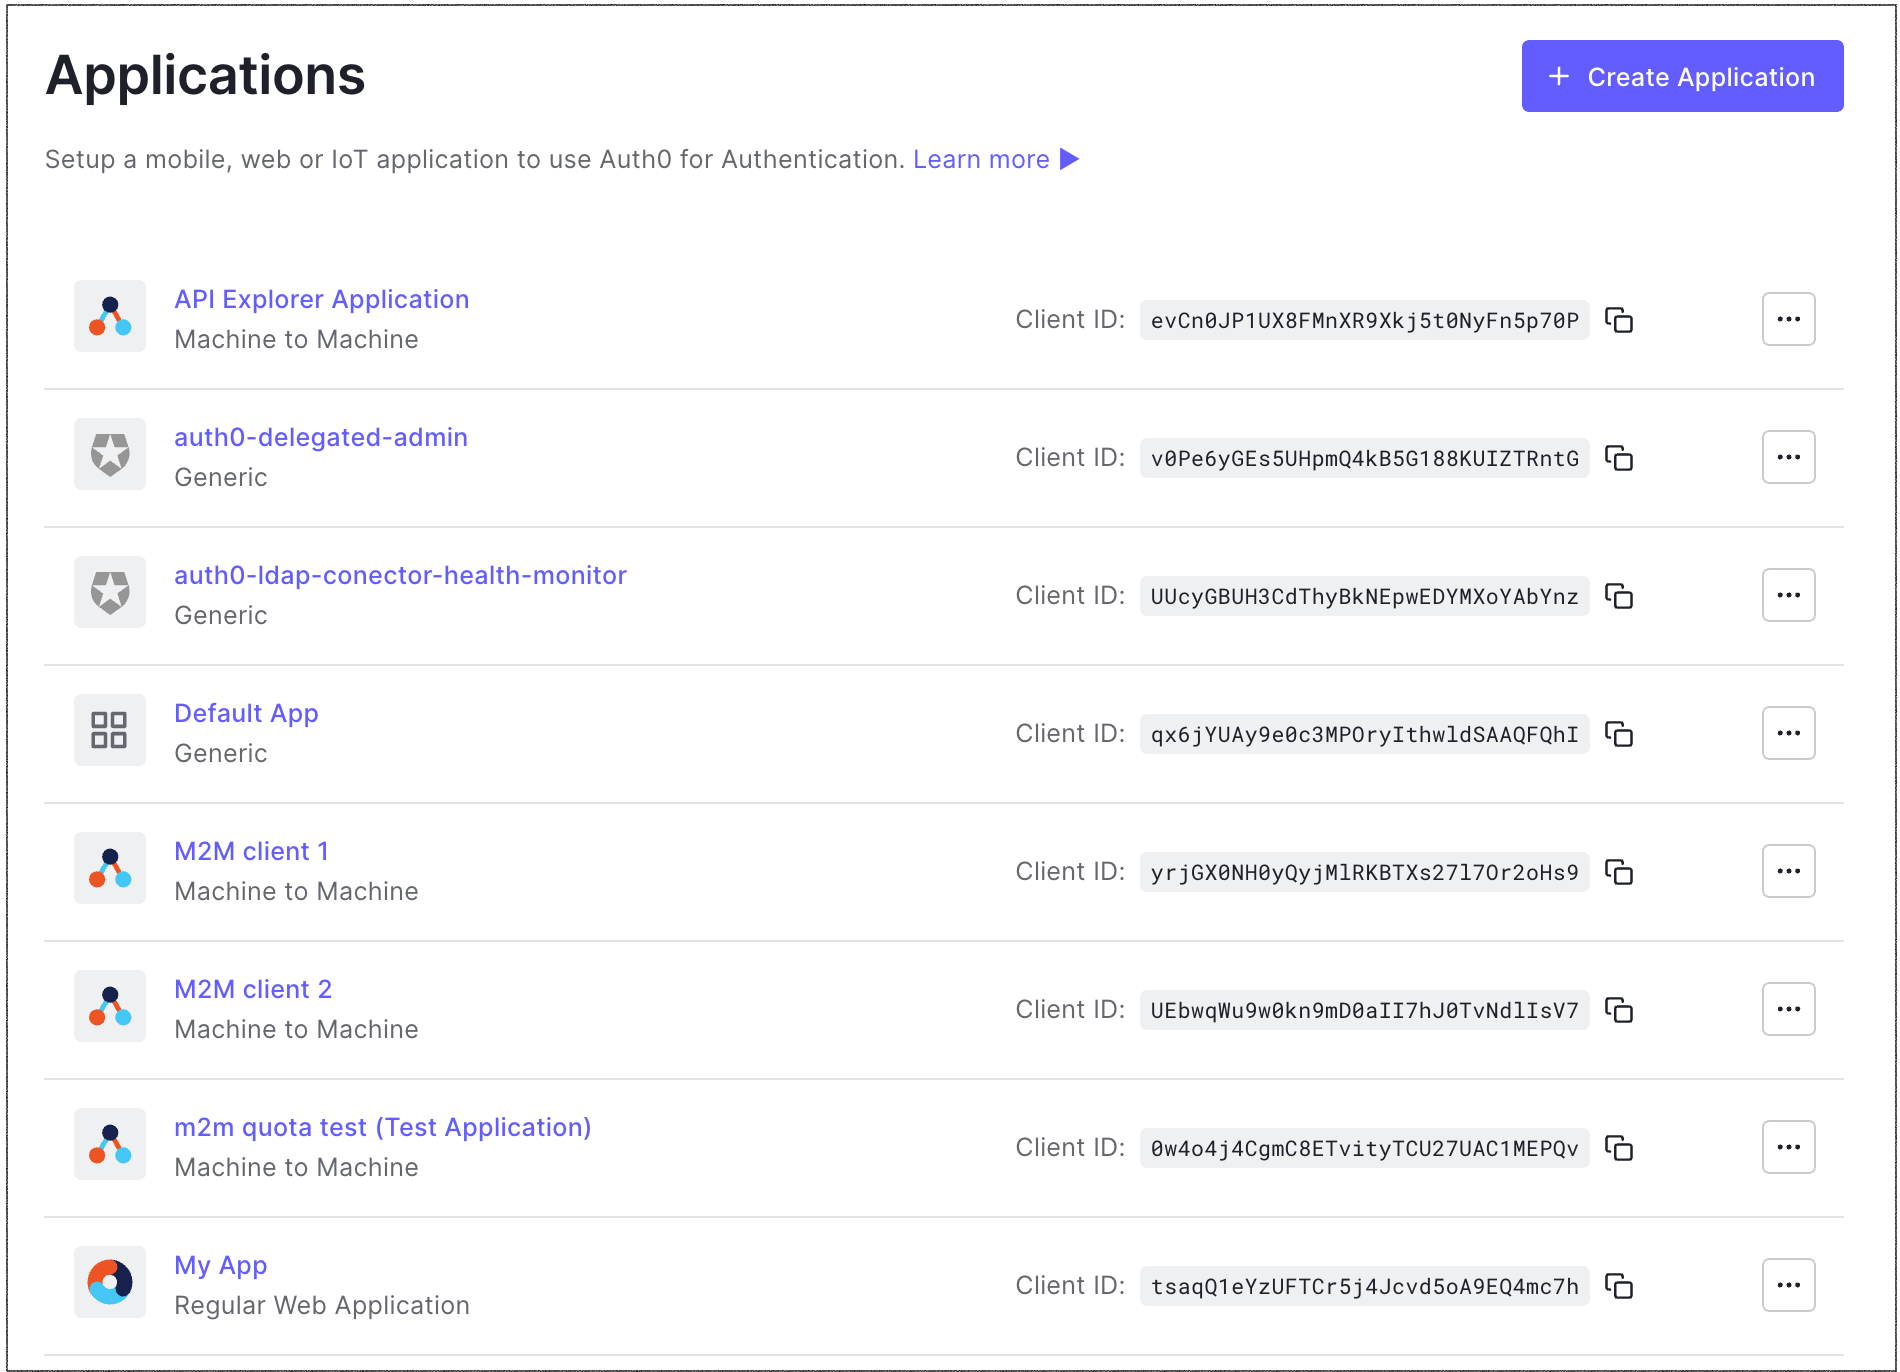
We would need to add some URLs to the Auth0 SPA app you created above, which our frontend application would be running on and making authentication requests. Leave
Application URIblank and addhttp://localhost:3000, http://localhost:8888in the rest of the fields for now. You can also add more URLs, separating them by a comma.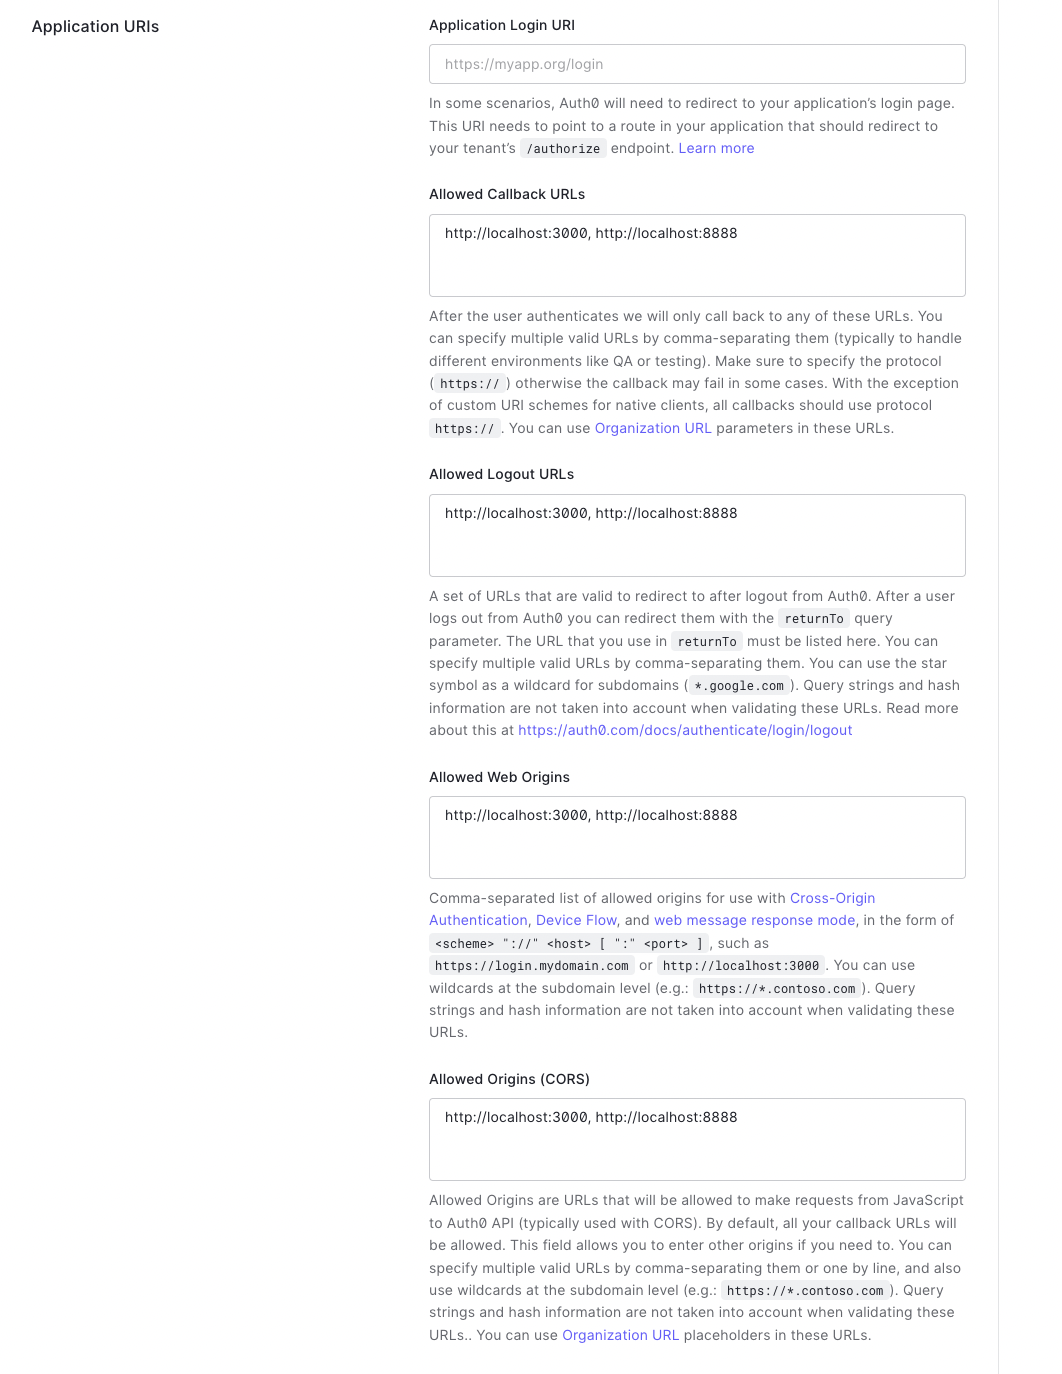
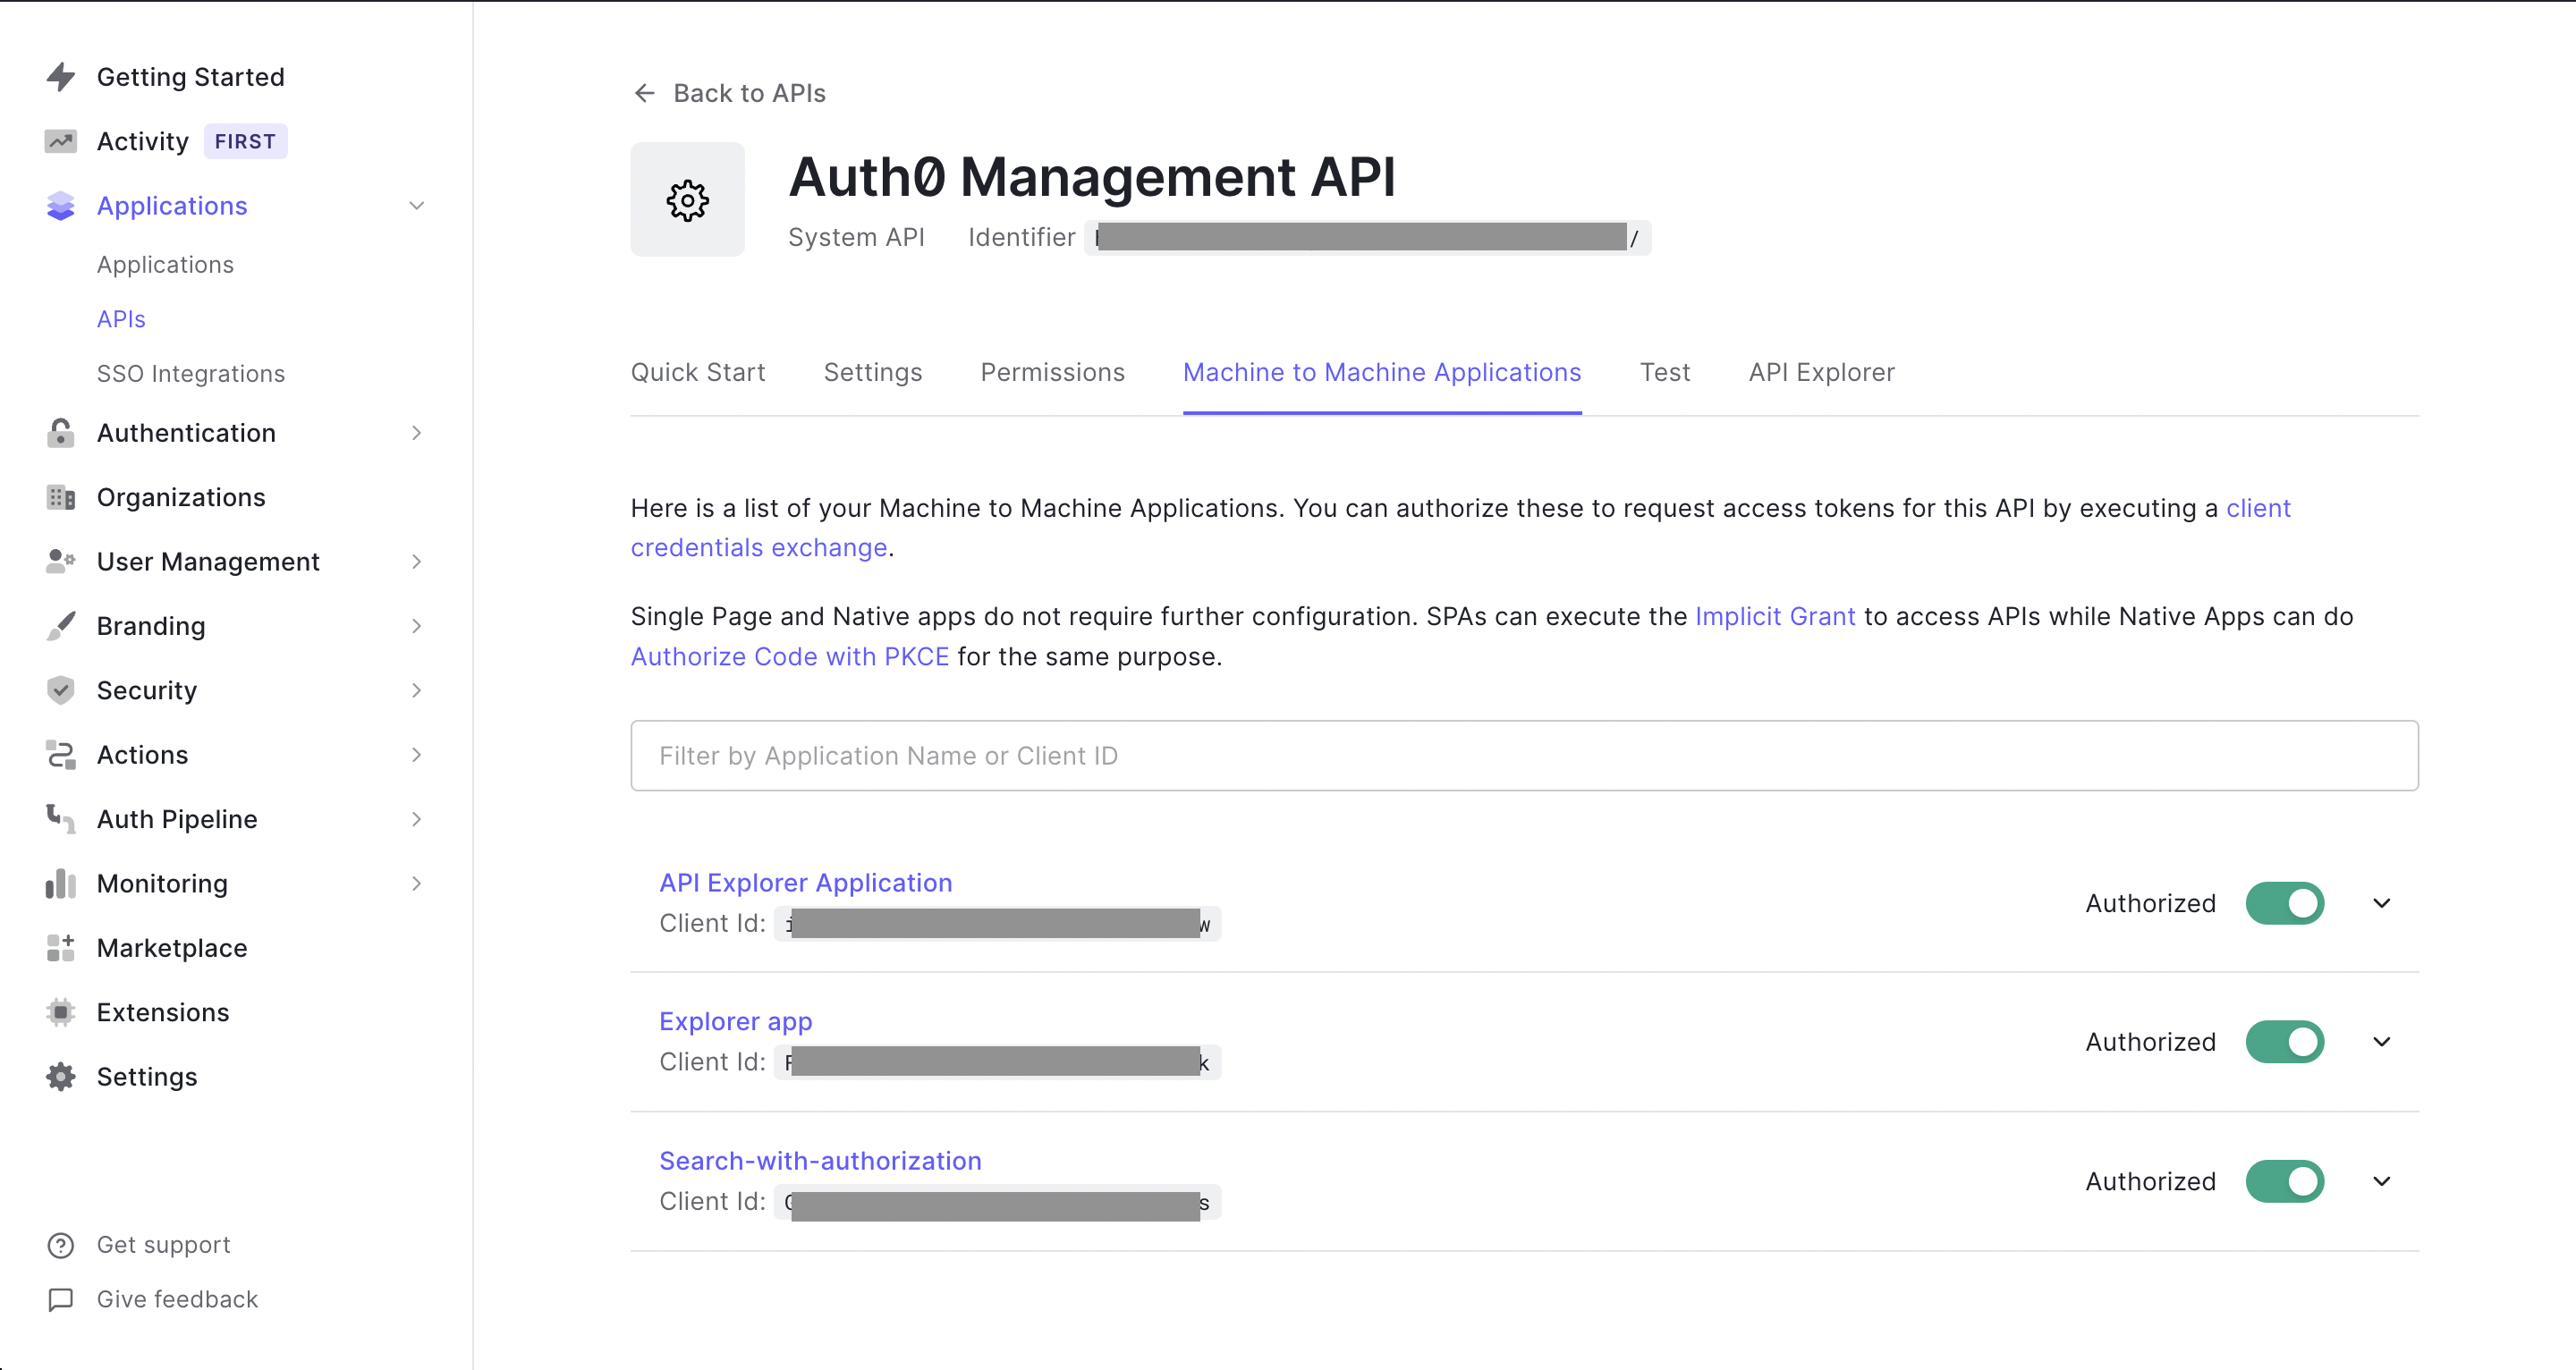
Create a new machine-to-machine (M2M) application. This would be similar to creating a SPA application from the Applications tab but you have to choose M2M instead. This would be used inside of netlify functions and corresponds to server-side code.
Since we would be managing Auth0 roles and users from our server, we would need to authorize the machine-to-machine application in the Auth0 Management API.
Building the app
Step 1: Cloning the airbeds-app
We have already built this app in a previous blog post. You can clone the code from the repository. You can run the below commands.
git clone https://github.com/appbaseio-apps/Airbeds-app
yarn
yarn start
Step 2: Configuring Auth0 and adding login/logout
We want to extend the Airbeds app by adding a login inside of the app. We would first install the @auth0/auth0-react library.
yarn add @auth0/auth0-react
Then we can wrap the whole app inside the Auth0Provider component. Add the credentials from the Auth0 SPA app we created above.
//index.js
<Auth0Provider
  domain="{YOUR_DOMAIN}"
  clientId="{YOUR_CLIENT_ID}"
  redirectUri={window.location.origin}
>
  <App />
</Auth0Provider>
Then we would make a login button by using the useAuth0 hook. That's it. We would now have a working login.
//LoginButton.js
import { useAuth0 } from "@auth0/auth0-react";

const LoginButton = (props) => {
  const { loginWithRedirect } = useAuth0();

  return (
    <button onClick={() => loginWithRedirect()} {...props}>
      Log In
    </button>
  );
};
Step 3: Making UI components
This app is going to be a little complex and we would try to mitigate complexity by making the UI components first and then building the logic.
Step 3a: Switch roles component
In order to change roles, we would need a modal to display the available roles and allow users to select them. For this would create a component in SwitchRoleModal.js.
Step 3b: Listing form component
We want the users to create an entry similar to airbeds. The form would have several fields and validation. The form component would also validate before submitting data. Things we need to validate are the text field shouldn't be empty, number fields shouldn't be negative, and "Date to" should be less than "Date from". We would make a separate file ListingForm.js for the purpose.
Step 4: Netlify functions
We would be making netlify functions to run our server-side logic.
Netlify functions live in a directory under /netlify/functions, so netlify can detect it. All of the functions we create below would be added to that folder.
Step 4a: Function for getting current user's role
We would be creating a function for getting the user's role in a file /netlify/functions/getRole.js.
Here we are going to use the auth0 library's Management API to get roles and various other things.
npm i auth0
Remember the Auth0 M2M application we made above. Copy the credentials and make a .env file with variables AUTH0_DOMAIN, AUTH0_CLIENT_ID, AUTH0_CLIENT_SECRET, filling the respective variables. Now we can use the management API by configuring it as below.
//getRole.js
const ManagementClient = require("auth0").ManagementClient;

const auth0 = new ManagementClient({
  domain: process.env.AUTH0_DOMAIN,
  clientId: process.env.AUTH0_CLIENT_ID,
  clientSecret: process.env.AUTH0_CLIENT_SECRET,
});
We would be serving a GET request which would send user_id as a query parameter. We can get it from the event object and then use it in getUserRoles to get roles corresponding to the user_id. We would have to expose a method handler on exports, so netlify can call it with event and context. Note that, netlify functions don't allow supplying a body in a GET request.
//getRole.js
exports.handler = async function (event, context) {
  try {
    const { user_id } = event.queryStringParameters;
    const roles = await auth0.getUserRoles({ id: user_id });
    return {
      statusCode: 200,
      body: JSON.stringify(roles[0] ? roles[0] : {}),
    };
  } catch (error) {
    console.log({ error });
    return {
      statusCode: 500,
      body: JSON.stringify({ error: error.message }),
    };
  }
};
Step 4b: Function for assigning roles.
In a file assignRole.js, we would make a function for assigning roles. We would get user_id and role to be assigned inside the body of the request. We can then use it to assignRolesToUser. A role object contains name, id, etc., but we only need to send an array of role ids. So we use .map as matchedRoles.map((role) => role.id).
//assignRole.js
exports.handler = async function (event, context) {
  const params = JSON.parse(event.body);
  //get all the roles which can be assigned to a user
  const allRoles = await auth0.getRoles();
  //Remove all the roles from a user
  await auth0.removeRolesFromUser(
    { id: params.user_id },
    { roles: allRoles.map((role) => role.id) }
  );
  //Find a role name that matches the one sent in request.
  const matchedRoles = allRoles.filter((role) => role.name === params.role);
  const roles = await auth0.assignRolestoUser(
    {
      id: params.user_id,
    },
    { roles: matchedRoles.map((role) => role.id) }
  );
  return {
    statusCode: 200,
    body: JSON.stringify(roles),
  };
};
Step 4c: Function for creating a listing
We get data in Airbeds-app from an Appbase index. We would want to create a listing inside that index, so it becomes searchable with all other entries. For this purpose, we are going to use appbase-js which allows making requests to the Appbase index to create a listing. This endpoint createListing would receive data from a form for the listing and would send it through appbase-js. We would require API credentials with write access for this.
//createListing.js
exports.handler = async function (event, context) {
  const { user_id, ...body } = JSON.parse(event.body);
  const roles = await auth0.getUserRoles({ id: user_id });
  const isHost = roles.filter((role) => role.name === "host").length > 0;
  if (isHost) {
    const appbaseRef = Appbase({
      url: "{YOUR APPBASE CLUSTER URL}",
      app: "{YOUR INDEX/APP name}",
      credentials: "{APPBASE API CREDENTIAL}",
    });
    const doc = await appbaseRef.index({
      body,
    });
    return {
      statusCode: 200,
      body: JSON.stringify(doc),
    };
  } else {
    throw new Error(
      "Your listing couldn't be created as your role is guest. Become a host to create the listing."
    );
  }
};
Step 5: Connecting UI with the functions
We have our UI components and functions. We just need to bring them together.
All netlify functions get converted into an endpoint so we can use them on the frontend. They are available on /.netlify/functions.
Eg. In our ListingForm.js component we would need to submit data to /.netlify/functions/createListing.
//ListingForm.js
fetch("/.netlify/functions/createListing", {
  method: "POST",
  body: JSON.stringify({
    name: "Hemmingway heights",
    date_to: "02-02-2020",
    date_from: "02-03-2020",
    bedrooms: 2,
    accomodates: 4,
    price: 320,
    host_name: "Mansingh",
    listing_url: "https://www.airbnb.com/rooms/1781873",
    image:
      "https://a1.muscache.com/im/pictures/25123883/1d7c2b2e_original.jpg?aki_policy=medium",
    has_availability: true,
    beds: 2,
    bed_type: "Real bed",
    location: {
      lon: -122.36470165349674,
      lat: 47.667596803320116,
    },
  }),
});
//ListingForm.js
fetch("/.netlify/functions/createListing", {
  method: "POST",
  body: JSON.stringify({
    ...body,
    //Also send the user_id from auth0. We can get this from "user" in "useAuth0"
    user_id: user.sub,
  }),
});
For building the app locally we would use netlify-cli. We can install it using the below command.
npm i -g netlify-cli
We can then run
netlify dev
Congratulations! We added a fully functional authentication and authorization mechanism to an existing app. This is incredible. You can look at the final app here..
Summary
Here comes the end of our journey, and we have extended our Airbeds search UI to have RBAC. Our users can now create listings if they have the correct role(host) selected. To summarize everything so far:
This post builds upon the Airbeds search UI to include authentication and authorization. We authenticate the user using a login and then on the basis of their assigned roles, allow them access to create a listing in the index(authorization).
- Step 1: Cloning the airbeds search UI
- Step 2: Configuring Auth0 and login/logout
- Step 3: Make UI components
- Step: 4 Netlify functions
- Step: 5 Connecting UI with the functions